Skip to content
Condor steering shaft conversion kit Installation Instructions

Condor steering shaft conversion kit Installation Instructions

Follow these steps to ensure safe installation and proper use. Failure to follow the instructions below could result in the U-joint securing set screws backing out and possibly U-joints becoming unsecured.

  1. Remove the OEM steering shaft.
  2. Mock up the Condor steering shaft conversion kit on your chassis. (You may need to trim a small plastic dust cover on an E46 rack.)
  3. Align both U-joints so the shaft is centered. The shaft should be flush or close to flush with the ends of the U-joint yoke. Too short could sacrifice strength and too long will cause the shaft to interfere with the operation of the U-joint.
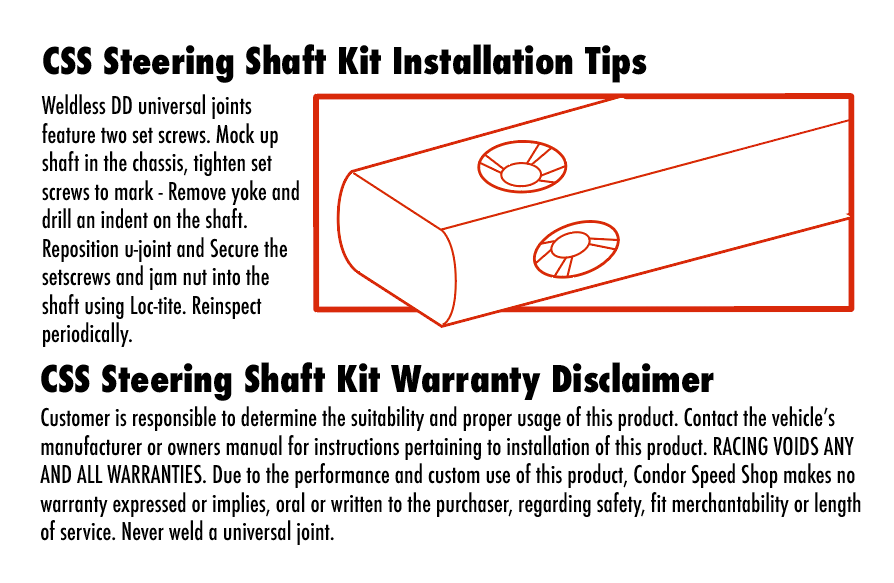
  4. Tighten the set screws to mark or remove the set screws and use a Sharpie to mark the location of all the set screws on the shaft.
  5. Remove the Condor steering shaft conversion kit. You will need to drill an indent on the shaft for set screw retention. 
  6. Use a transfer punch to mark the marked locations.
  7. Drill a small indention in all the punched locations on the shaft.
  8. Re-install the Condor steering shaft conversion kit. High strength thread locking compound is required on the set screws along with the jam-nuts to secure the U-joints. 


Steering Shaft Installation Tips

*Failure to follow the instructions could result in the U-joint securing set screws backing out and possibly U-joints becoming unsecured. Once installed this should be a trouble-free part - but it is always good to check critical fasteners before each racing event. Condor Speed Shop is not liable for improper installation or care of this racing part.

Previous article How to Install a Powersteeing Delete in an E30.
Next article Condor E46 Weld-in Reinforcement Installation Tips

Leave a comment

Comments must be approved before appearing

* Required fields