Order Before 3PM EST
Get Same Day Shipping
Get Same Day Shipping
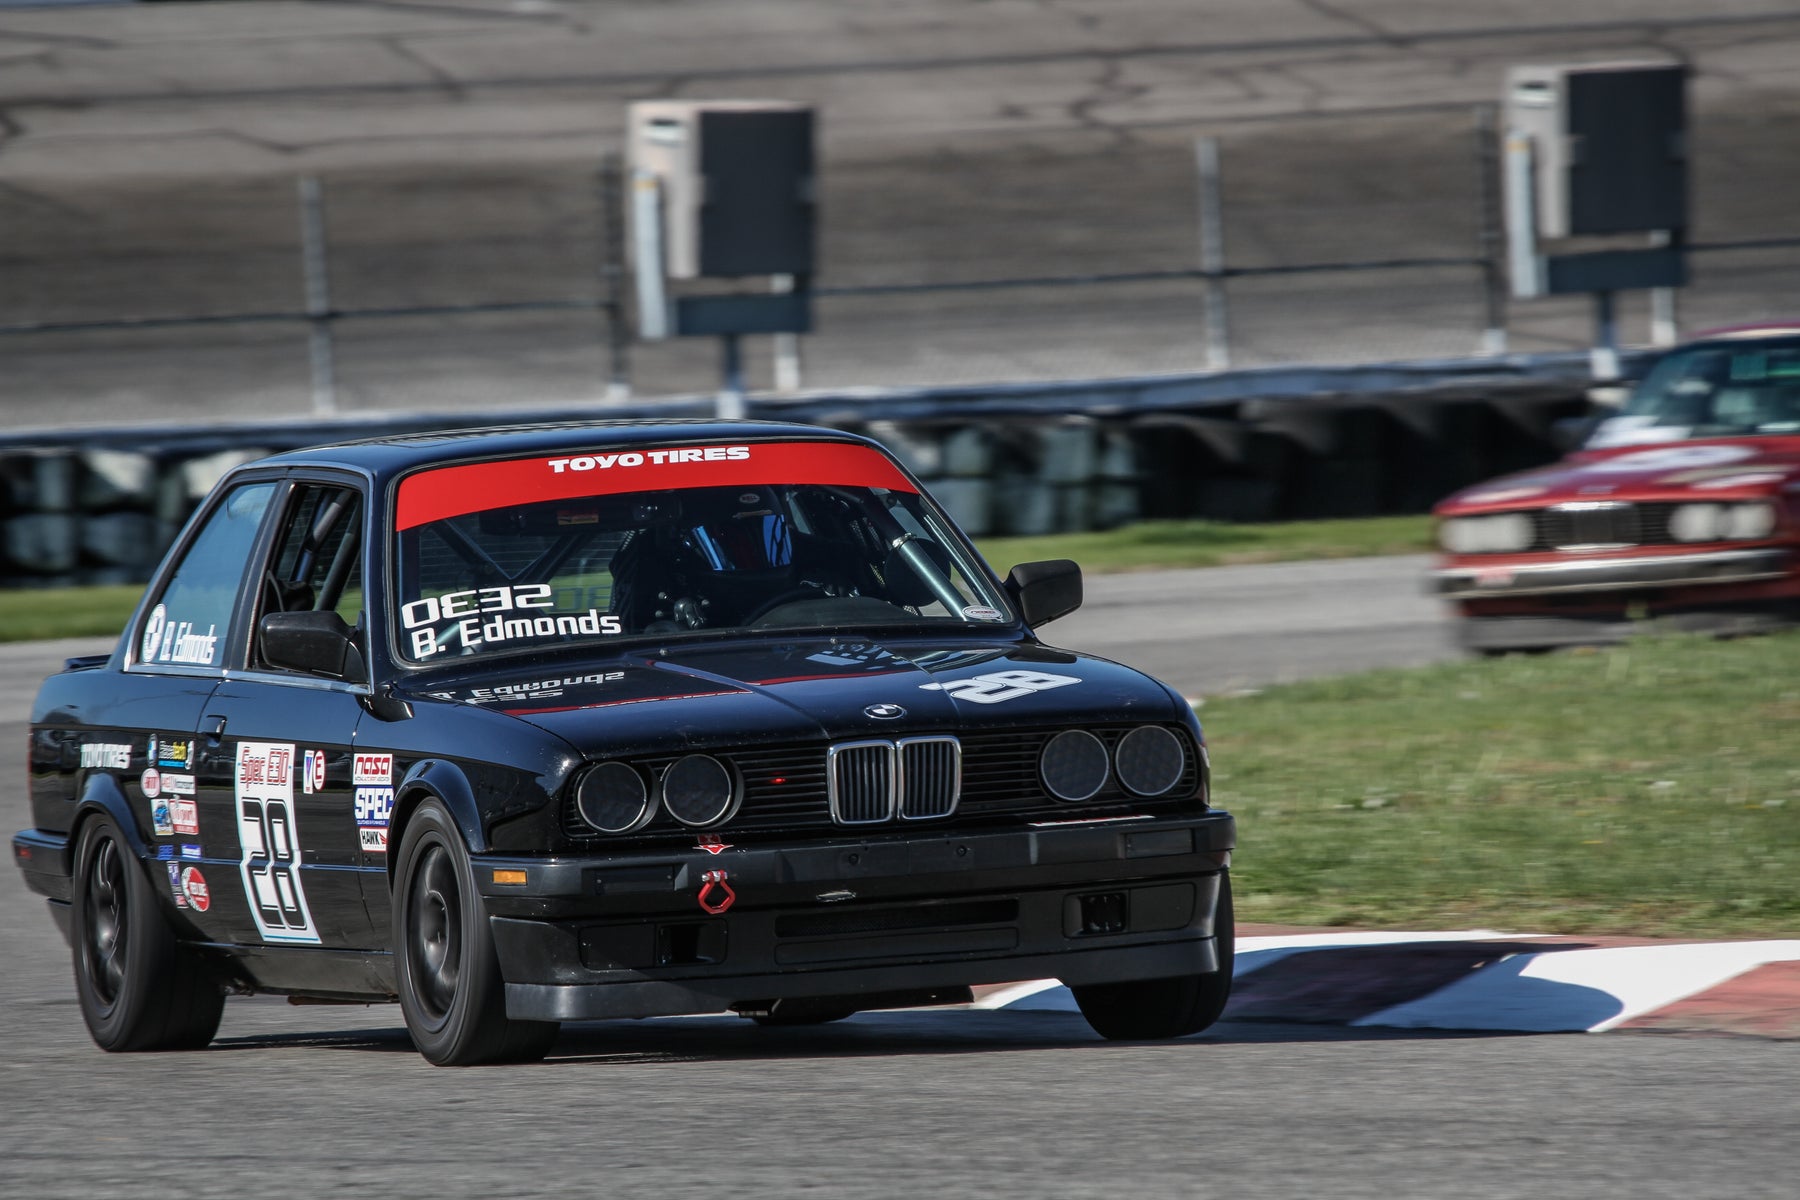
Gateway Motorsports Park sits just across the Mississippi River from historic St. Louis, Missouri. A fun and competitive "Roval" (that's road course inside and oval for you newbies), this track offers a lot of great passing opportunities in a short, 1.6-mile configuration. I like to think of it as a Saturday night Short Track for road course racing. The facility is well-kept and there is are nice garage stalls for rent, as well as a very cool go-kart track inside the oval. They usually have race fuel for sale and there is a regular gas station just across the street from the track.
I hope that this write-up helps you navigate this fun track. Everyone has their own driving style of course so this write-up is by no means a one-size fits all manual. I encourage you to explore different lines outside of this guide and find what combination works best for you. Also, this guide is written from the perspective of a NASA Spec E30 low horsepower grocery-getter so there will be some differences as the horsepower and handling increase. I decided against including shift points because all cars are different so try different points and find what works best for you. Since the first turn always starts with the last, we will back your car up to the last corner, but don't worry, we will cover that one too.

T1: At the exit of T10, track out to the wall and ride it down the front straight. Look up to your right, and you will see turn-in cones poking through the fence above the wall. They have been in various locations over the years and are usually in a 1-2-3 countdown. I typically use them to tell my eyes to look at T1, the apex of which is actually the transition from the oval track to the infield and is marked by cones at the inside of the corner at the apex. At roughly the one cone, there is a quick brake and downshift, then off the brake and begin a slow-hands turn in toward T1. Braking should be late enough that you slightly trail brake to get the car to turn toward T1. If you wait too late, you will have to brake harder and may overshoot the corner, which is bad because of the transition that will upset your car. Too soon and you have over slowed. I get back in the throttle after making the initial turn in to help plant the rear end. Once you get through the apex, you should be about ¾ to the right of the track pointed straight at the oval's turn 2 grandstand. There are light poles and a tire wall that alternates colors to use as your reference. Hard on the brakes for T2.
Passing: Passing in T1 works but it kills your speed if it is a similar speed car. If you are on the inside, be careful of tracking out into the outside car. If you are on the outside, be careful because the outside has a larger transition and is usually dirty. A better plan is to set your line up for a pass on the inside of T2.

T2: T2 is a sweeping, late-apex corner. Begin a slow-hands turn in as braking is finishing from the short chute after T1. It should be a smooth turn in as a sharp or jerky motion just scrubs speed here. Get back to full throttle smoothly but quickly as you begin turn in and let it help you turn. Apex at the almost-end of the inside curbing and track all the way out. Be careful as the outside curbing ends right where you track out and it will grab your rear tire.
Passing: This is a great passing zone if you can get a good run and get inside either going into or out of T2 to get a run for T3. Being on the inside for T3 virtually guarantees a pass.

T3 & T4: T3 & T4 are two fairly equal 90 degree connected corners. Braking is really quick before entry and you don't need a lot. The turn in is sharp but is not early or late and the apex is pretty much the center of the curbing. Turn in for T4 just past the apex of T3 and it should track you out nicely about 2/3 out. If you track out more than that you probably turned into T4 too late. Try to avoid this as tracking out too far makes you turn more to bring it back across the track for T5 entry and also scrubs speed. Think of these corners like a snow skier. An even entry makes an even exit.
Passing: Entry into T3 is an excellent passing zone on the inside, and you usually are good in T4 to take the apex on exit if you have a good run, but be careful. If you are the car on the outside, you can hold your line to defend and even get the spot back in T4, but know your speed will be greatly reduced coming out of T4, so this should be a white flag lap maneuver. In pack racing, it's better to give up the spot at the entry of T3 and keep your momentum up.

T5 & T6: After a 2/3 track out from T4, continue the turn and bring the car smoothly back towards the center of the track. Once you get back to the center, feel for a slight rise in the track. As you crest this rise, begin a smooth turn at full throttle back to the left towards the apex of T5, which is the dead center of the driver-side curbing. You should be looking at the apex of T6 (not T5) watching for it to line up with the apex of T5. When it does, straighten up and you will be pointed such that your right-side tires will touch the apex of T6. I know it sounds confusing but on track it makes sense. It's sort of like lining up a gun sight. Brake firm but don't over slow and turn in towards T7.
Passing: You won't see a lot of passing here as it is tough to get a good enough run out of T4. Typically if someone screws up T4 you can get a line on them for T5 & T6.

T7: Turn 7 Is a tough one to get right. It starts at the apex for T6 but it is actually two turns. Part 1 is a sweeper under acceleration. Part 2 is a sharper turn. At the apex of T6, begin a slow turn to the right, getting back into the throttle and tracking out gradually. Throttle it as much as you can give it without tracking out too far. If you make it to the grass, you will make it to the wall. Your target is the outside edge of T7 where the turn into part 2 of T7 provides a line that is a middle-late apex at the inside curbing. There is no good mark to where this spot is but the track dips ever so slightly and you should see some darker pavement from tire braking marks at the part 2 turn-in. Braking is quick and should be completed mostly before part 2 turn in. The turn in is sharp and throttle should be picked up immediately and held through the apex. Track out towards the end of the outside curbing and use a little of it if needed but be aware that it ends quickly. Continue the turn but decrease the angle and make your way to the opposite side of the track for T8.
Passing: Passing here is accomplished by throttle play. If you can get into the throttle quickly after T6 and get underneath the other driver, you should be able to complete the pass at the turn in for part 2 of T7. Outside passing is rare but if you get caught on the outside, you can keep other drivers at bay by holding the outside line through T7, thus setting up the inside line for T8.

T8: Brake hard and straight, trailing slightly into a very late entry. The turn in point should put you in the center to outer 2/3 of the entry of T8. Use a quick initial steering input to set the car, and slightly increase the angle as you turn in and get back on the throttle quickly. Most of the steering angle should be set at first turn in. If you have overcooked it into the corner, use a slower turn in and use the extra track to collect yourself. The apex is at the transition back onto the oval track. If you apex too early or carry too much speed, you risk a tank slapper. This corner is extremely important as it sets your speed for the entire length of the oval portion of the track. The most important factor is getting back into the throttle as quickly as possible. This is accomplished by turning in properly and quickly without scrubbing too much speed, with the focus being on how early can you get on the gas.
Passing: If you get a run out of T7, this is a good passing zone, especially on entry. Just be aware that there is a big, hard, unforgiving wall at the end of the corner and that any speed you give up in T8 translates to a lot of lost lap time on the oval portion.

T9/T10: The best thing to do in this corner is to scream "Yee-haw!" and pretend you are a NASCAR driver. It's a fun, banked NASCAR oval corner that you don't see every day on road courses. Entry is somewhat irrelevant; however, I've found that a taking higher entry then bringing the car down to the inside seems to be quicker. This is totally without data to back it up and may just be a more fun way to take the corner. Exit the corner just like you see the NASCAR guys do it and get up close to the wall, but not too quickly. Just let the car drift out there. Continue your scream all the way to the checkered flag and do it all over again.
Passing: There are lots of opportunities all the way from T8 through T9/T10 and into T1 and they are 99% dependent on your exit from T8. There is enough room to run the entire length of the oval portion 3 wide, but you better have it sorted out by the T1 entry. Two wide racing is great fun in this corner, just be aware of where the outside car is as they have nowhere to go if the inside car pushes them up to the wall on the exit of T10.
I hope this guide helps reduce your lap times and increase your fun times at this exciting track. Good luck!
Brian Edmonds
Spec E30 #28
Leave a comment